Reactでstorybookのインタラクションテストをやってみる
- #Storybook,
- #test,
- #React
今回は、ReactにStorybookを導入して、インタラクションテストを試してみたことを記事にしました。
Storybookとは?
Storybookは、UIコンポーネントのカタログ作成・テストなどができるツールです。 デザイン確認やユーザーインタラクションのテストが簡単に行えます。 主にReact、Vue、Angularなどのフレームワークで使用されることが多いです。
導入することのメリット・デメリット
メリット
- すでに作成済みであるコンポーネントなどが分かりやすくなる
- コンポーネントの状態確認がしやすい
- 新メンバーが既存コンポーネントの理解がしやすい
- コンポーネントごとにCSSが正しく設定されているかを確認できるので、コンポーネントに組み込んだときのデザイン崩れの原因が特定しやすい
以下の記事のようにUIドキュメントを書いて管理できると分かりやすいなと思いました。
https://note.com/japan_d2/n/nc4fc0f52794d
デメリット
- 開発に時間がかかる
- メンテナンスコストが高い
ストーリーファイルを自動生成することができれば解決できるかも
https://zenn.dev/ot_offcial/articles/b4fbbc06d1eb8e
インタラクションテストとは?
インタラクションテストは、ユーザーの操作(クリックや入力など)に対するコンポーネントの動作が正しいかを確認するテストです。
Storybookを使うことで、これらの操作を自動で検証することができます。
実際にやってみる
Reactのインストール
$ npx create-react-app app-storybook --template typescriptStorybookのインストール
$ npx storybook initインストールが完了すると以下コマンドで初期ページを表示することができます。
$ npm run storybook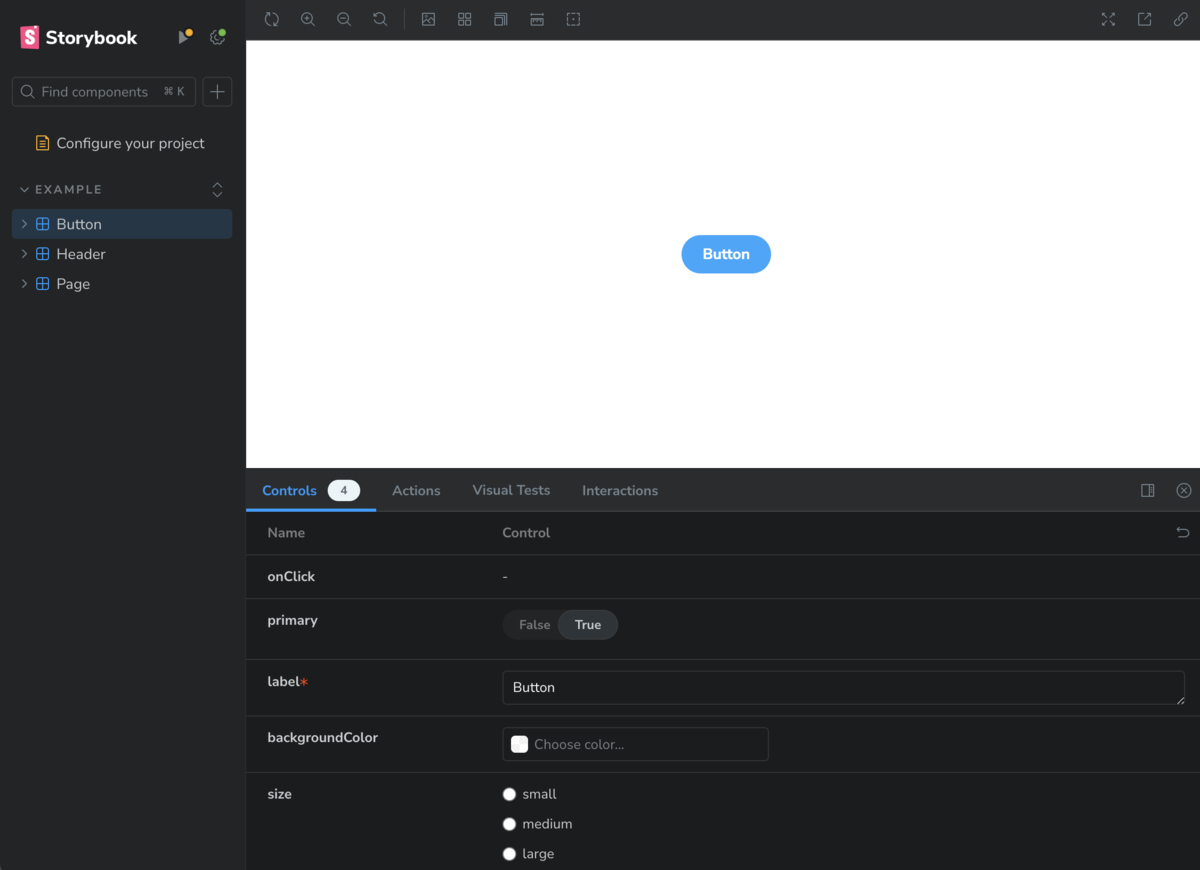
ボタンコンポーネントの作成
以下のコードで、テキスト表示とボタンのトグル動作を行うコンポーネントを作成します。
※Storybookの設定方法など細かな部分の説明は飛ばします。
src/components/Button/Button.tsximport { useState } from "react";
type ButtonPropsType = {
children: React.ReactNode;
text: string;
};
const Button = ({ children, text }: ButtonPropsType) => {
const [showText, setShowText] = useState<boolean>(false);
const handleClick = () => {
setShowText(!showText);
};
return (
<div>
<button onClick={handleClick} data-testId="button">
{children}
</button>
{showText && <p>{text}</p>}
</div>
);
};
export default Button;
次に、上記のコンポーネントに対するストーリを作成します。
src/components/Button/Button.stories.tsximport Button from "./Button";
import type { Meta, StoryObj } from "@storybook/react";
import { userEvent, within, expect, fn } from "@storybook/test";
const meta: Meta<typeof Button> = {
title: "Common/Button",
component: Button,
};
export default meta;
// Story: ToggleButton
export const ToggleButton: StoryObj = {
args: {
children: "ボタン",
text: "Success!!",
"data-testId": "button",
},
play: async ({ canvasElement, step }) => {
const canvas = within(canvasElement);
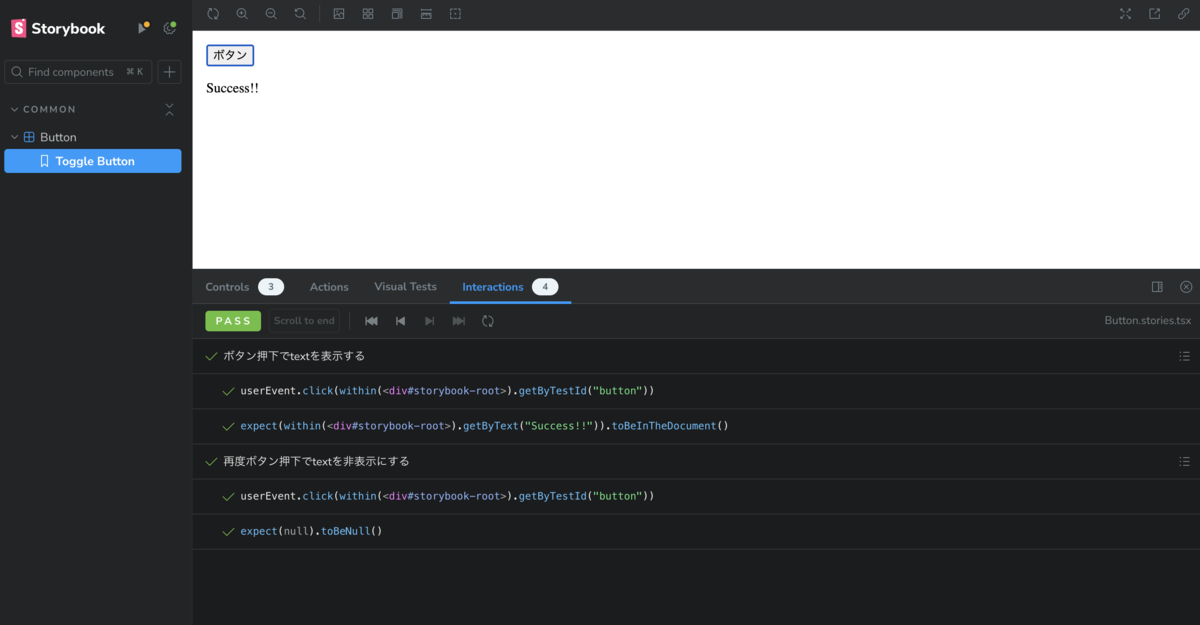
await step("ボタン押下でtextを表示する", async () => {
await userEvent.click(canvas.getByTestId("button"));
await expect(canvas.getByText("Success!!")).toBeInTheDocument();
});
await step("再度ボタン押下でtextを非表示にする", async () => {
await userEvent.click(canvas.getByTestId("button"));
await expect(canvas.queryByText("Success!!")).toBeNull();
});
},
} // canvasElementにはidが付いたdiv要素のDOMが渡ってくる
<div id="storybook-root">
<div>
<button data-testid="button">ボタン</button>
</div>
</div>;Storybookの設定
components配下のstoriesファイルのみを検知させるため、以下のように設定します。
.storybook/main.tsimport type { StorybookConfig } from "@storybook/react-webpack5";
const config: StorybookConfig = {
stories: ["../src/components/**/*.stories.tsx"], // ここ
addons: [
...
],
framework: {
...
},
...
};
export default config;
設定後、以下コマンドで再起動します。
$ npm run storybookボタンの動作確認と、Interactionsタブでテスト結果が問題なく通っていることを確認できます。
カバレッジの計測
インタラクションテストのカバレッジ(どれだけテストがカバーできているか)を計測するには、Playwrightと関連パッケージをインストールします。 Playwright導入することでブラウザを実際に操作して、UIコンポーネントが正しく動作しているか確認できます。
$ npx playwright install
$ npm install -D @storybook/test-runner @storybook/addon-coverage
次に、カバレッジ計測に必要な記述をStorybookの設定に追加します。
.storybook/main.tsconst config: StorybookConfig = {
...
addons: [
...
'@storybook/addon-coverage', // この行を追加
],
};{
"scripts": {
...
"test-storybook": "test-storybook --coverage" // この行を追加
}
}以下コマンドでカバレッジ計測を実行できます。
$ npm run storybook
$ npm run test-storybook
% Stmts
ステートメント(文)のカバレッジ率。全ステートメントのうち、テストでカバーされているステートメントの割合
% Branch
分岐(if文やswitch文など)のカバレッジ率。全分岐のうち、テストでカバーされている分岐の割合
% Funcs
関数のカバレッジ率。全関数のうち、テストでカバーされている関数の割合
% Lines
行のカバレッジ率。全行のうち、テストでカバーされている行の割合
Uncovered Line
テストでカバーされていない行番号
未テストのコードを追加した場合
src/components/Button/Button.tsximport { useState } from "react";
type ButtonPropsType = {
children: React.ReactNode;
text: string;
};
const Button = ({ children, text }: ButtonPropsType) => {
const [showText, setShowText] = useState<boolean>(false);
// 未テストの関数
const test = () => {
console.log("テスト");
};
const handleClick = () => {
setShowText(!showText);
};
return (
<div>
<button onClick={handleClick} data-testId="button">
{children}
</button>
{showText && <p>{text}</p>}
</div>
);
};
export default Button;
まとめ
今回は、ReactにStorybookを導入し、インタラクションテストを実際に試してみた内容を紹介しました。 カバレッジ計測により、テストの不足部分を明確にすることができ、品質向上に役立つことが分かりました。
今後は細かな機能の確認と、Chromaticを使用したビジュアルリグレッションテスト、Storybookのファイルの自動生成、アクセシビリティチェックの自動化などを試してみたいです。
Storybookを導入する目的や、 何が改善できるのかなどをチームで話しあいをしたり、運用コストを減らす仕組み作りなどができればいいなと思いました。 ここまでご覧いただきありがとうございます。